


Hey Everyone! I'm going to try to catch up on some posts I have been meaning to share...
The first of which is my piano room...which is turning into my art studio! More on that later. Things are slowly coming together after putting the new floors down. One of the hardest parts of the project was moving my baby (my piano)! I love this piano so much, and it's got a sweet little story...it was totally an answer to prayer.
It is in pretty good condition too. It has survived at least 4 moves just since I have owned it. Years ago when I was looking for a piano, I knew I wanted to rescue a beautiful old piano from going to the dump. Modern ones just don't have the ornate detail. I have since learned that old grand uprights are the closest pianos to match the sound of a grand piano.
So, when it came time to move it to put in the new floor, I was a little nervous. But, it was really just a matter of moving across the carpet to the family room. I was much more nervous to move it back over my new hardwood floors! I was so nervous we would scratch them. We weren't sure what to do, so we turned to YouTube. :) I am so grateful that people post helpful hints and tips so that all of us can benefit! One guy showed us how to make skis to slide it across! We used blocks of wood, dremelled (sp?)out holes for the wheels, and covered the blocks in carpet. Fortunately we had a few carpet scraps left.

And it worked like a charm!


Before we put the flooring in, I knew we might get an overdose of wood tones. So, I decided that to break things up a bit, I would paint the piano bench white. I had seen Miss Mustard Seed's done that way, so I thought I would do the same. I don't have much patience for projects these days, so all I did was lay down pieces of computer paper on the bench and tape them down with masking tape. I didn't even measure. :)


Then I lugged it out to the garage, and spray painted it. When it was dry, I took a little sand paper to the edges to lightly distress it.

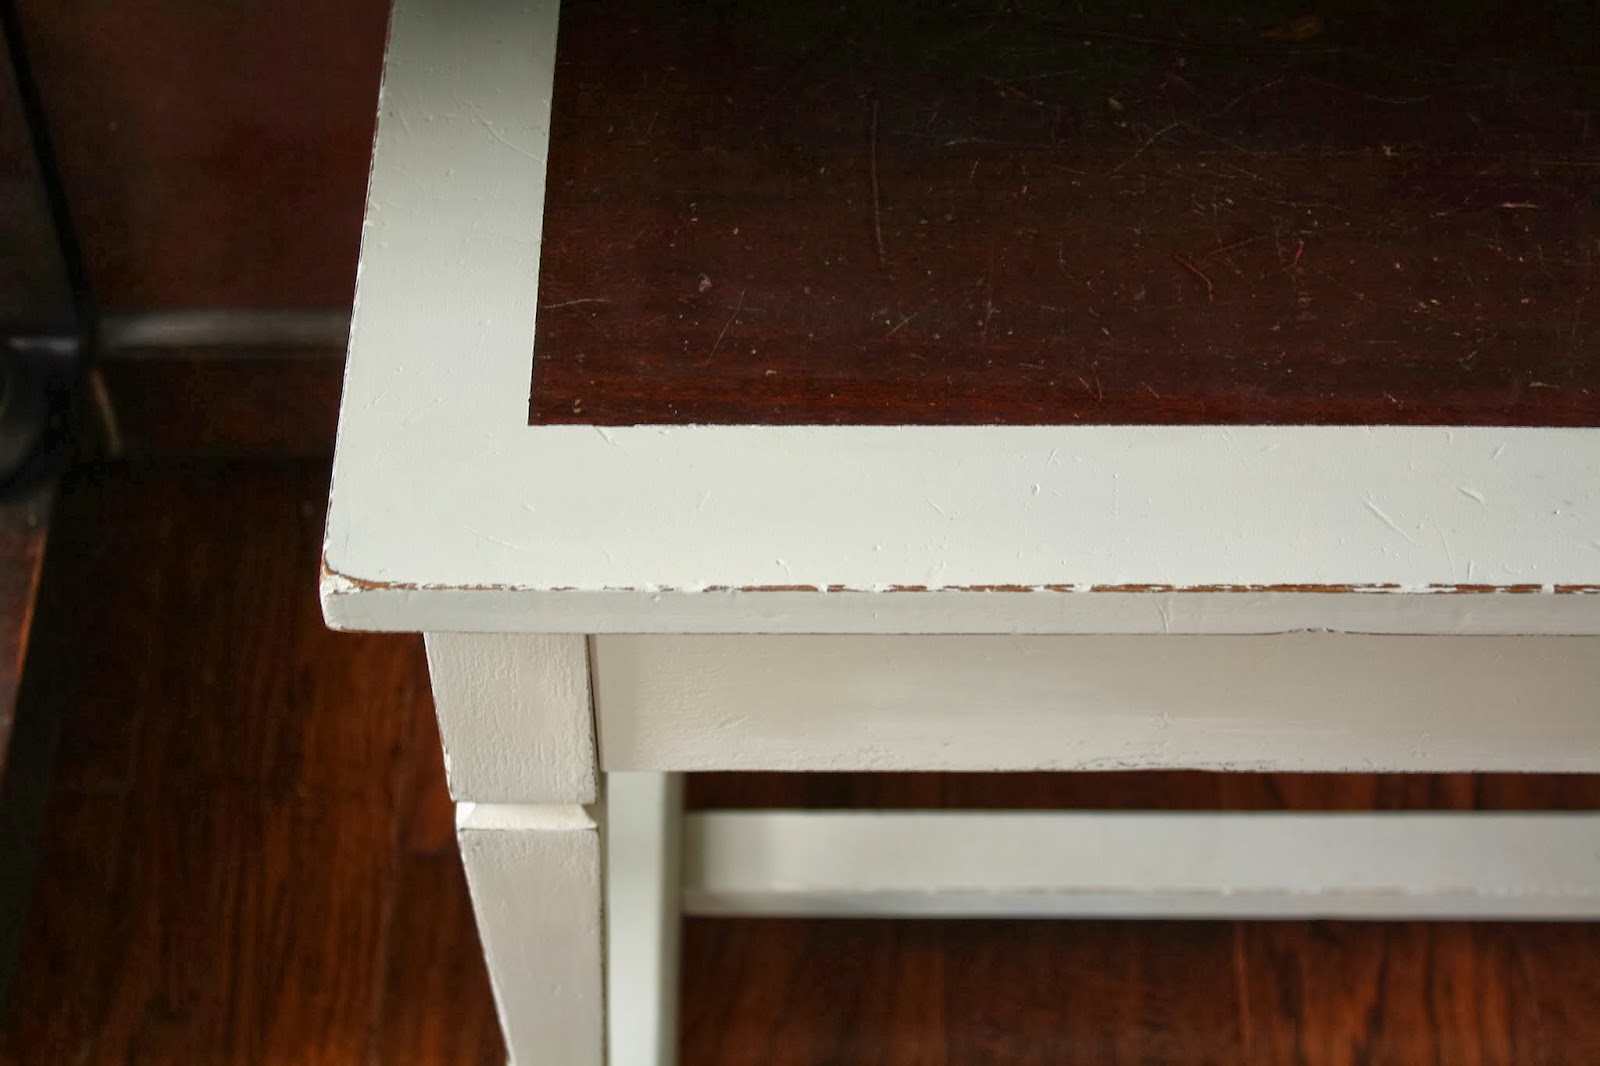
I couldn't be more pleased with the end result!

(1).jpg)


Very nice! That is a beautiful piano and I love how you have styled the room.
ReplyDeleteThank you, Kim!
DeleteThis comment has been removed by the author.
ReplyDeleteIt looks amazing! I just love that piano.
ReplyDeleteThanks Robin!
Delete